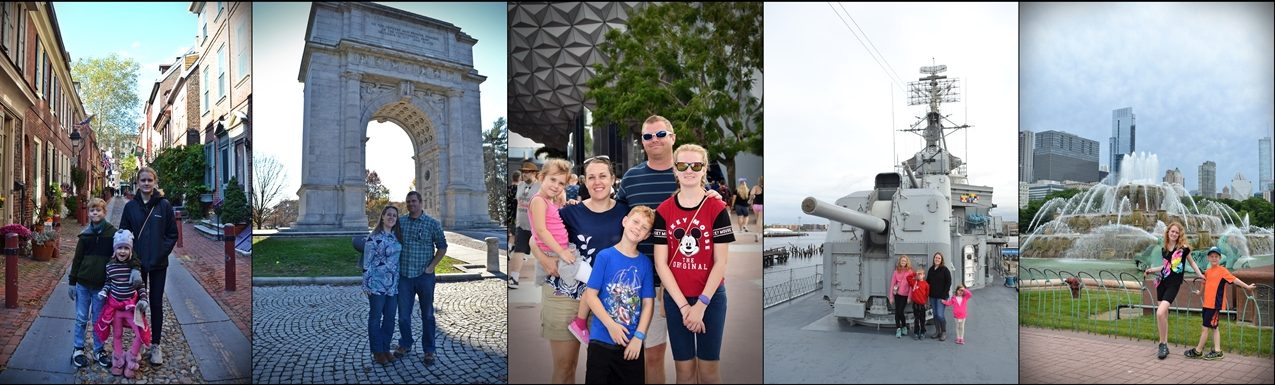
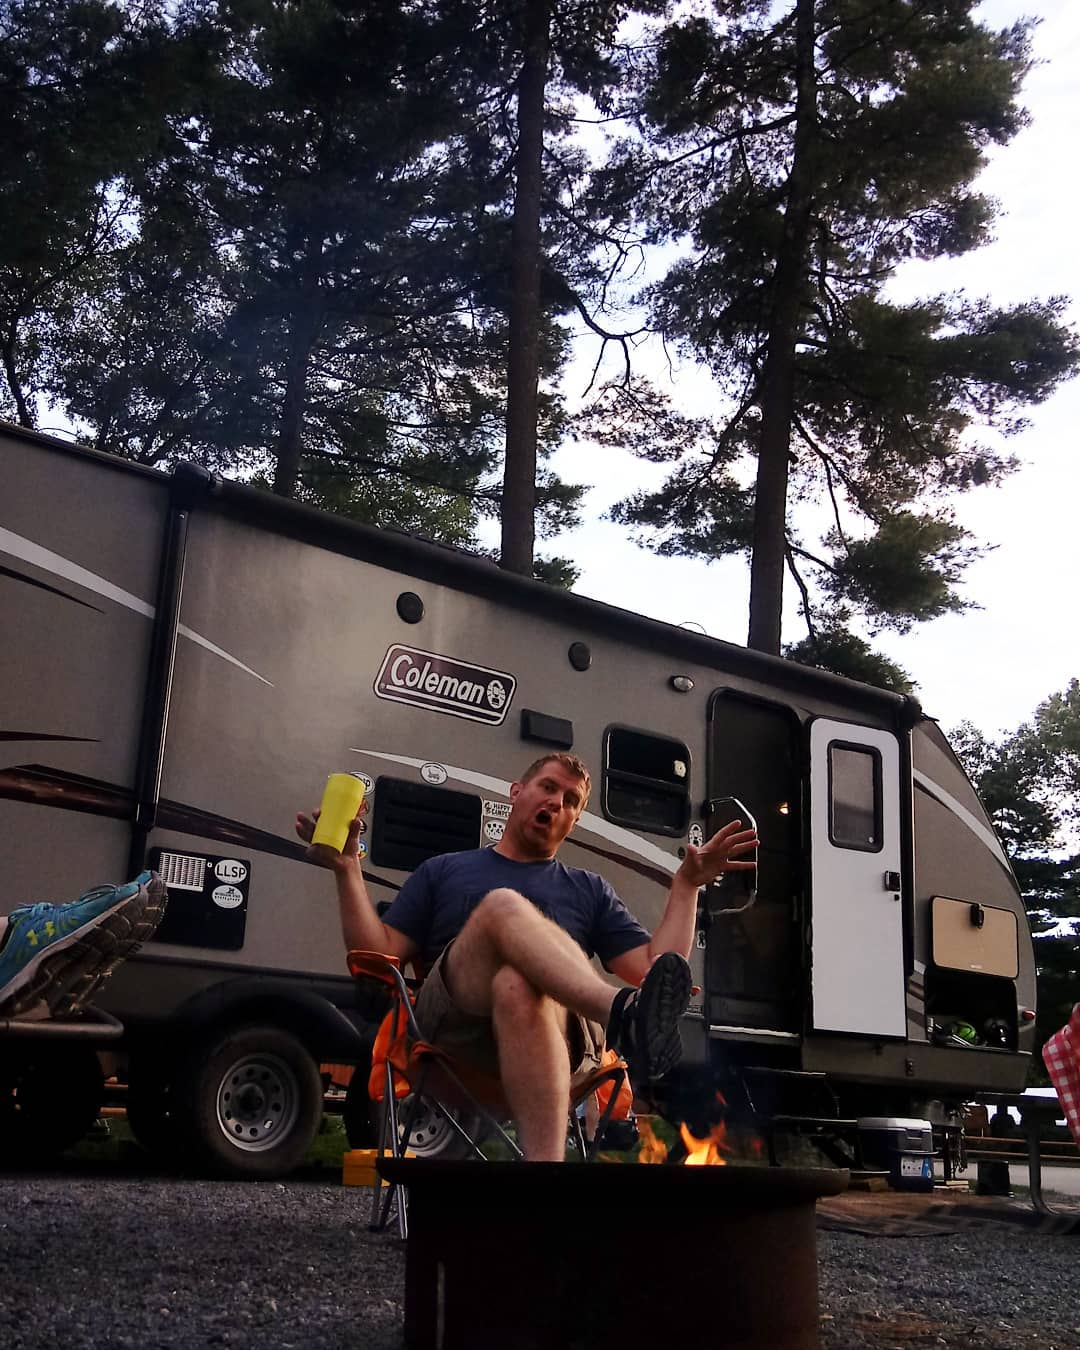
We purchased our Coleman 2855BHSS travel trailer in the fall of 2016, and I can’t believe it’s been over seven years. Since then, our trusty camper has gone with us all over the east coast of the United States, from Maine to Florida. We’ve made many memories in our travels and are about to add more with a 9-week trip across the US.
We seriously considered getting a new camper when we decided on a months-long road trip. We have often thought we could use a little more space with amenities such as a U-shaped dinette (our camper had a 4-seater) and a bunk room instead of a bunk house. However, after considering it for a while, we decided to keep our current camper and modify it to work better for our family.
We decided against a new camper for many reasons:
- Money – our camper is already paid off.
- Wear and tear – the thought of getting a brand new camper and then taking it all over the country seemed unwise. Potholes, rocks, tree branches, and more await us on our travels. We should probably scratch up an old travel trailer.
- Modifications – we’ve already made modifications that suit our family. We didn’t want to make them again in a new trailer.
Since we were keeping our trailer, we decided to remodel it. It was entirely ours and had already gotten a lot of use. What would the harm be?
STYLE
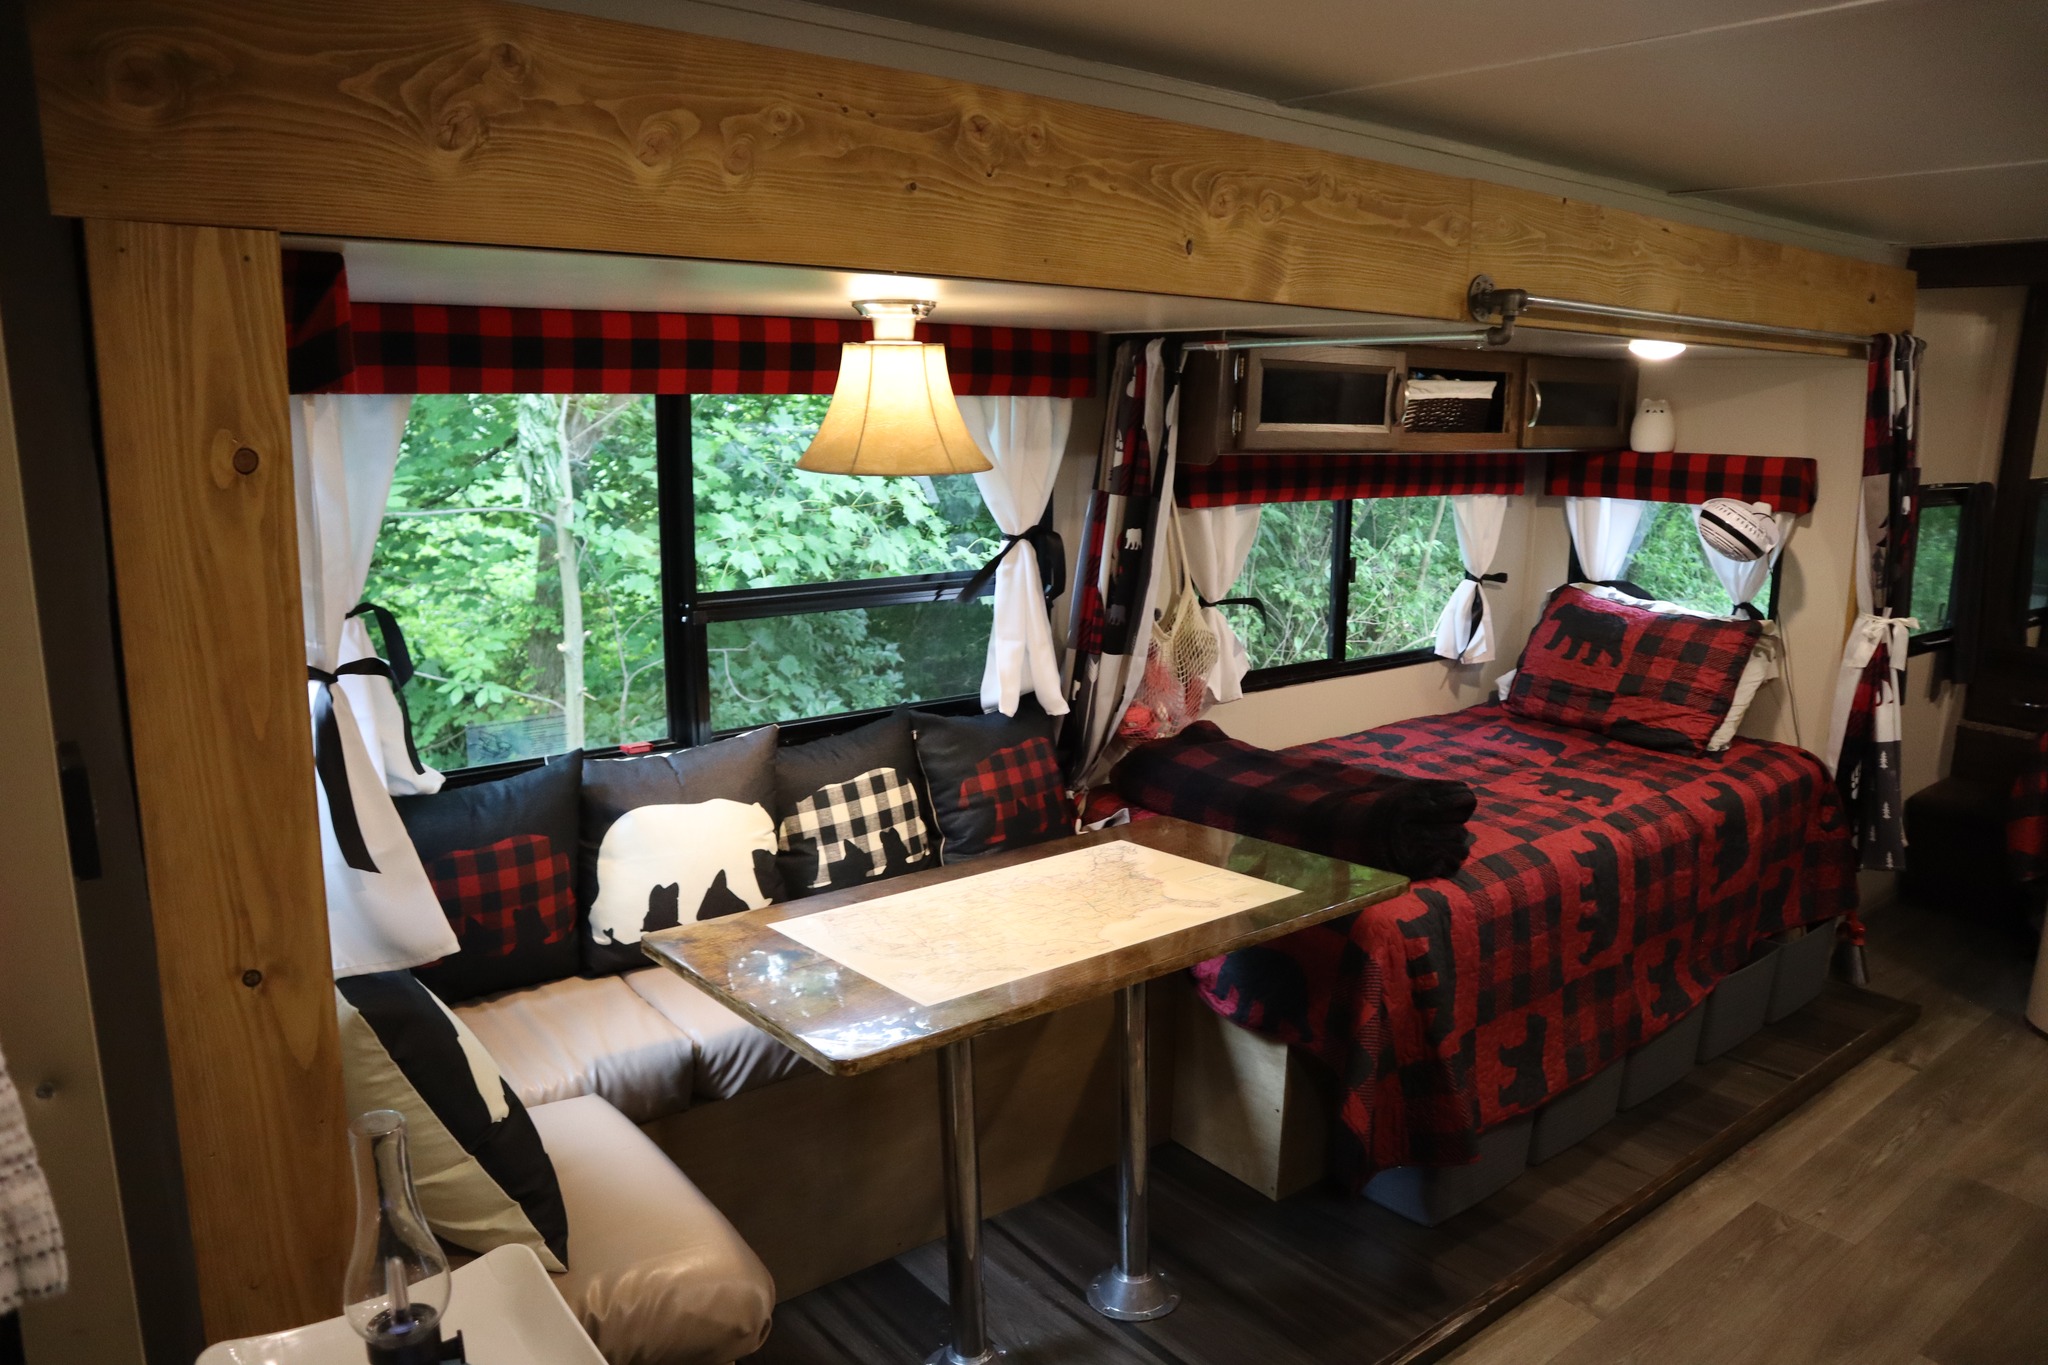
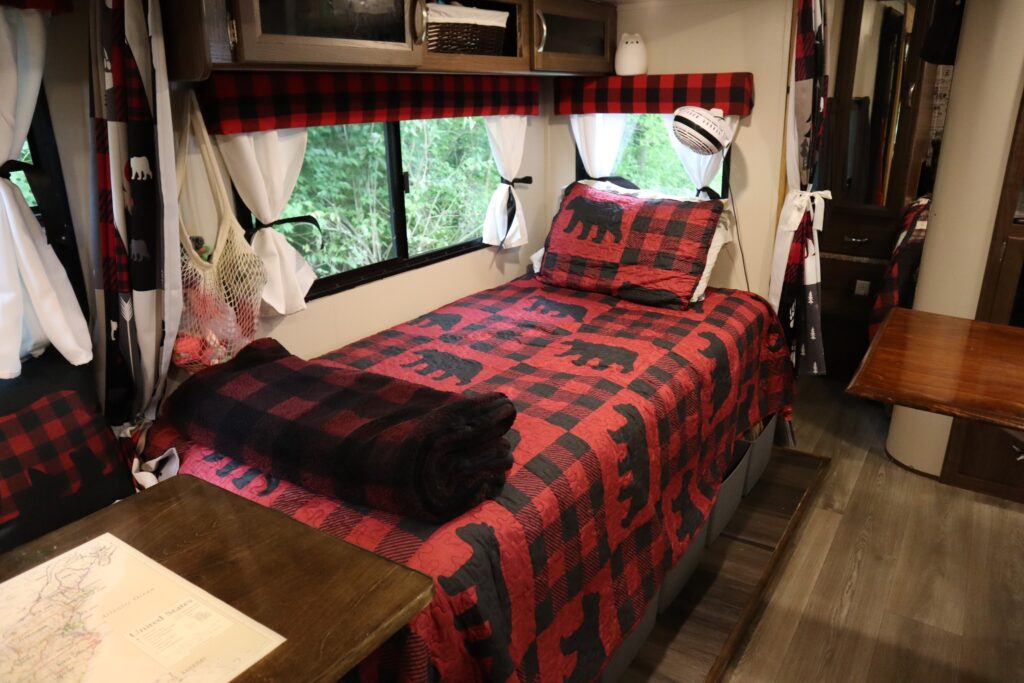
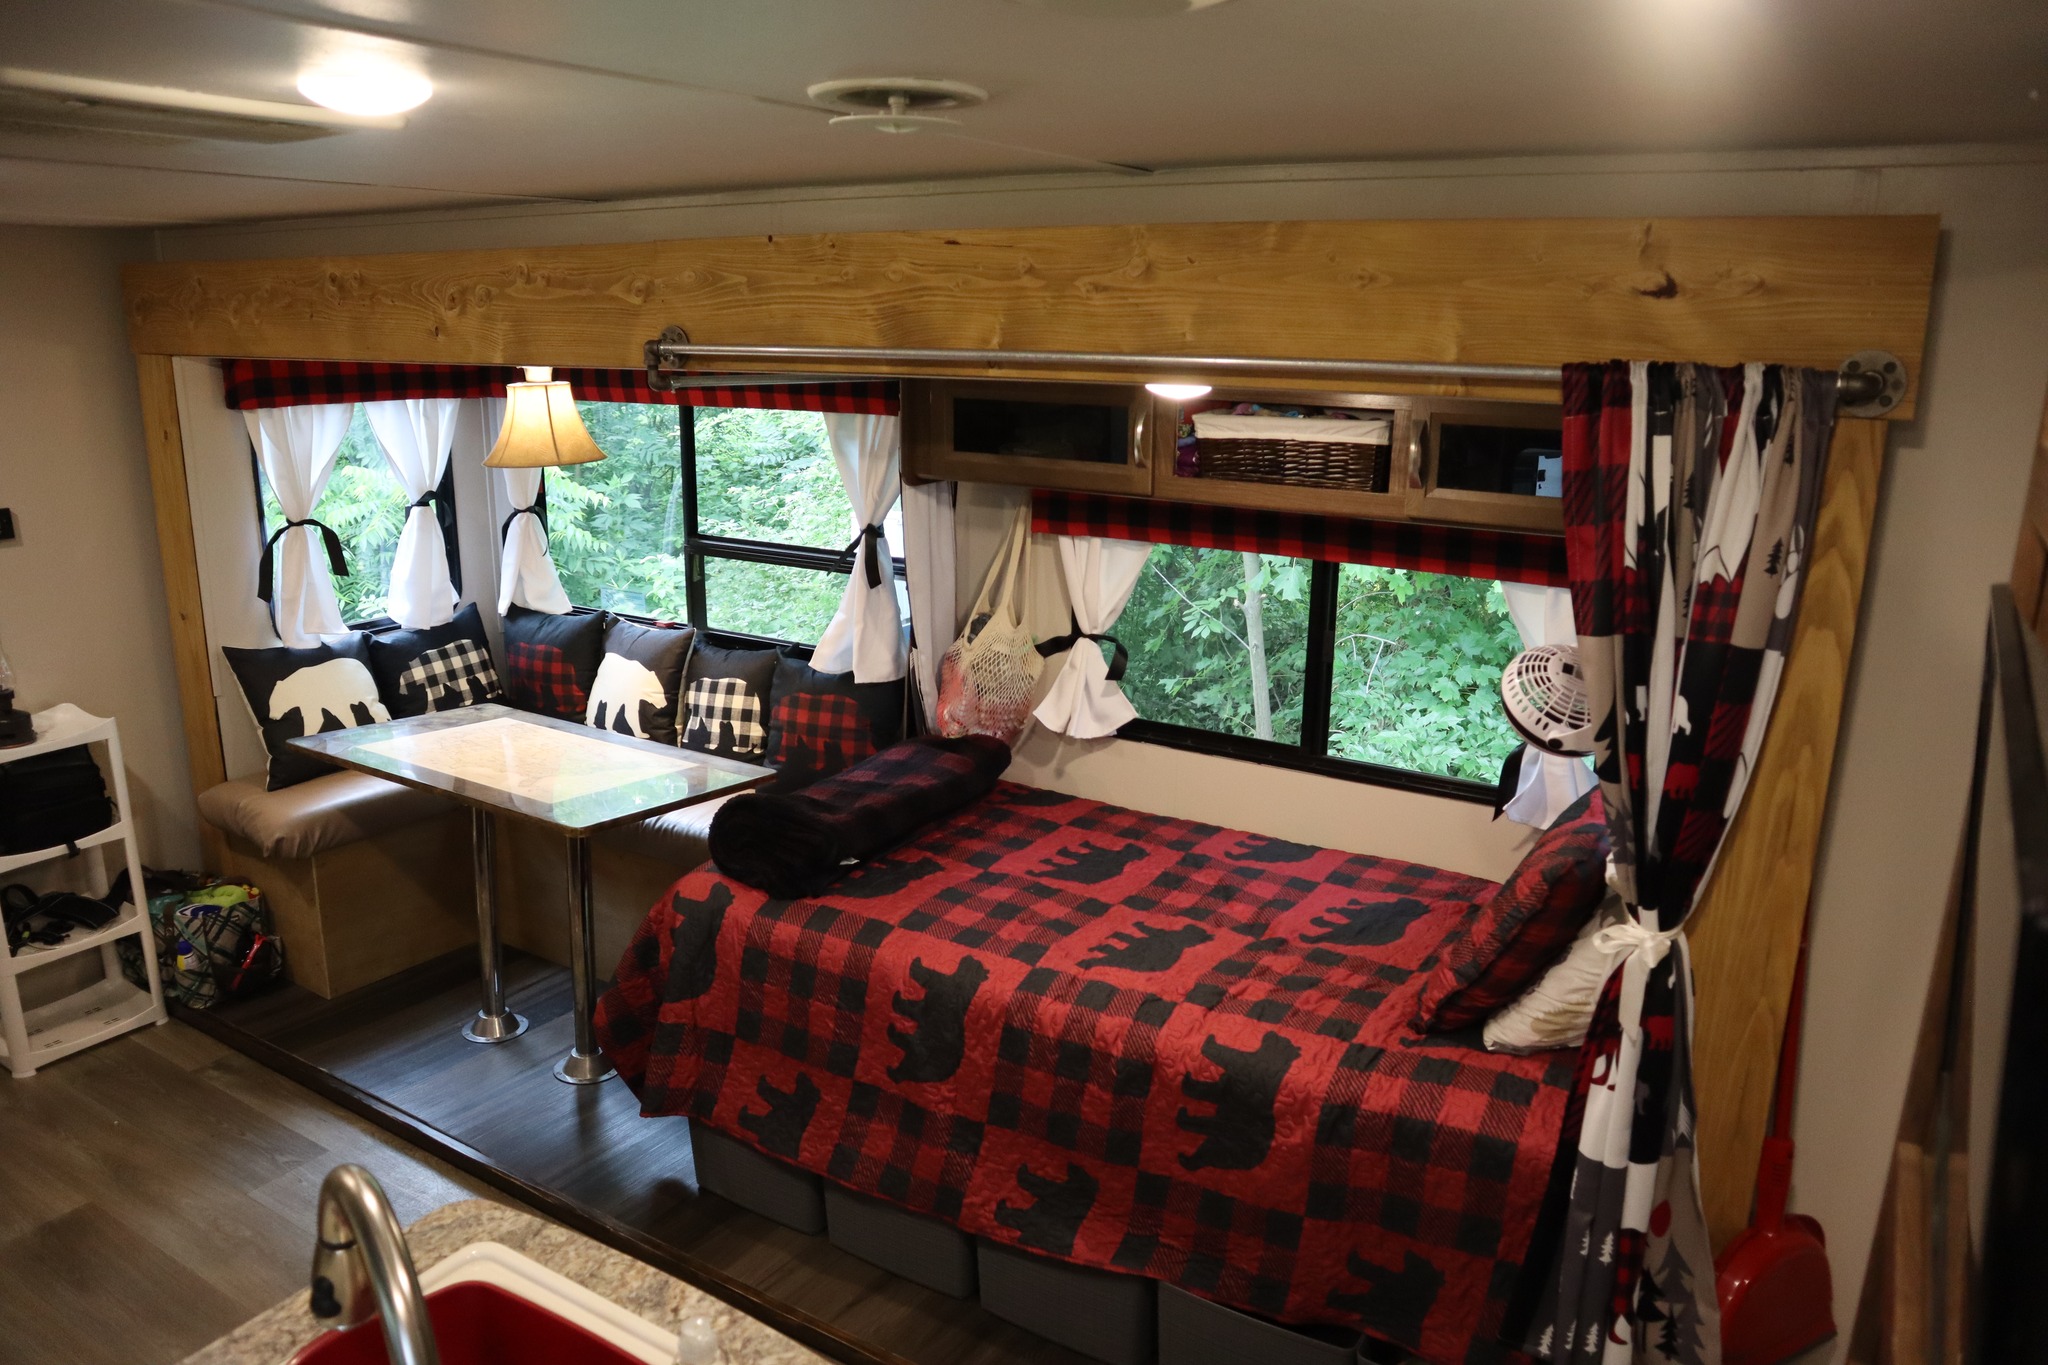
For aesthetics, I decided to go with a cabin theme. That meant lots of natural woods and buffalo prints. I wanted a cozy cabin feeling we could take anywhere with us. I ordered pillows, sheets, and comforters from Amazon.
ADDING A BEDROOM
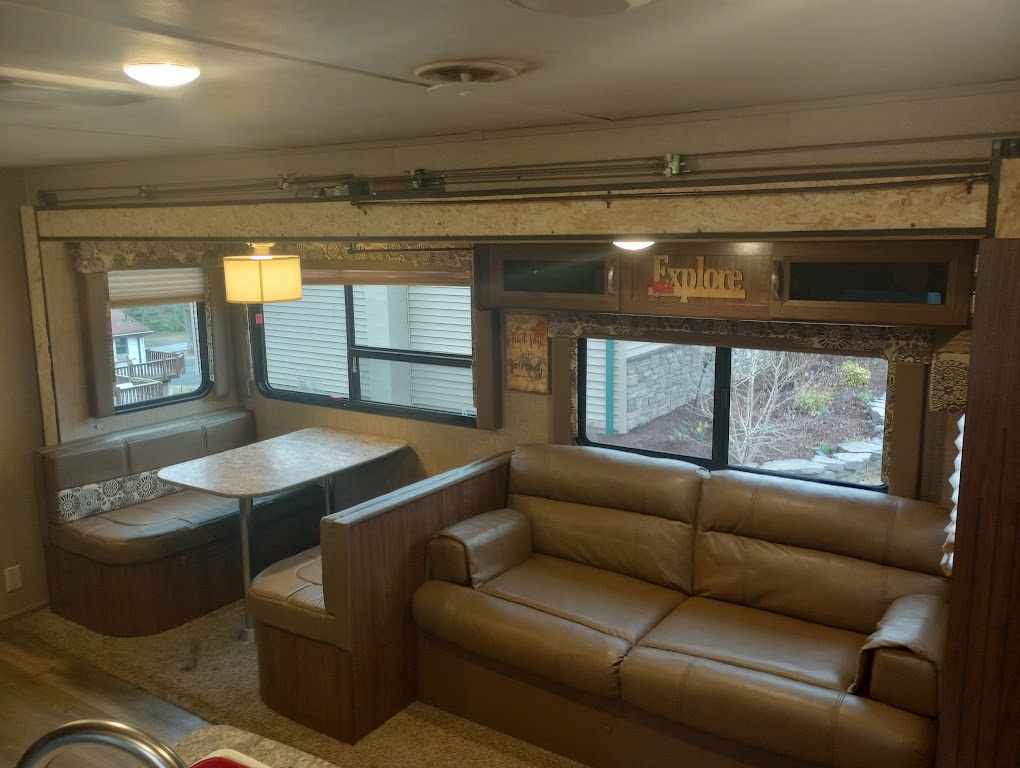
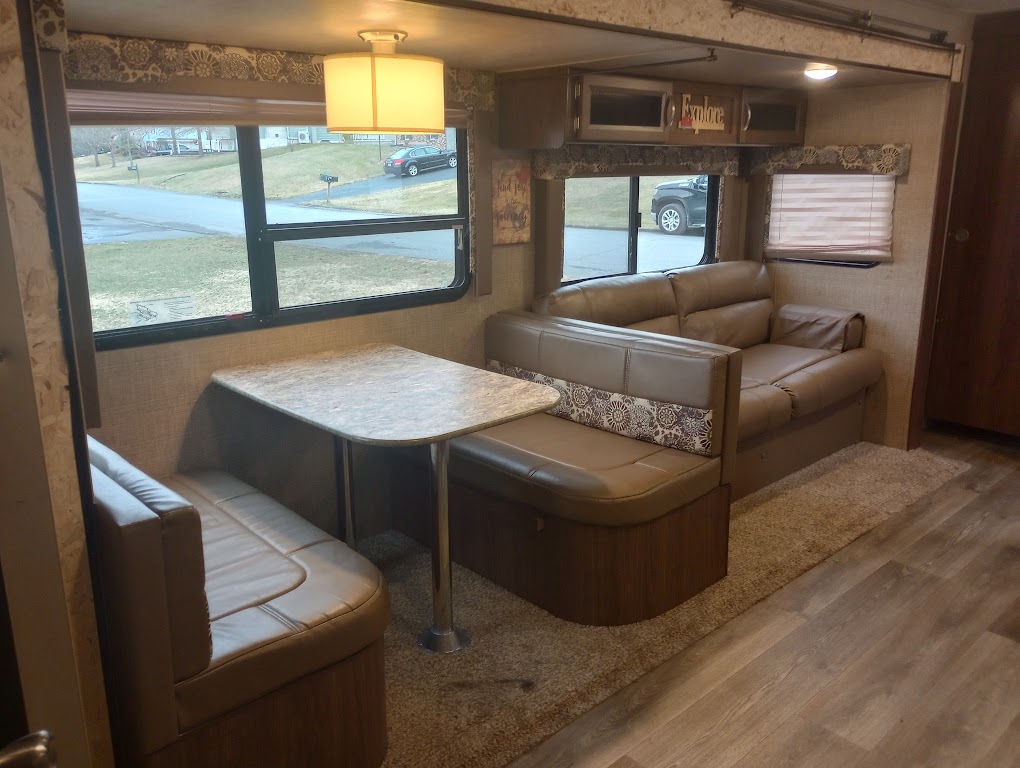
When we first purchased our trailer, we figured the two double bunk beds would be plenty for our three kids. The girls could share one, and our son could get the other. That didn’t last long. Especially on trips of a week or more, each kid needs their own space. We moved our youngest to the fold-out couch, which seemed to work space-wise. But, if you’ve ever slept on a camper fold-out couch, you know it’s not a comfortable experience. It’s also not very private.
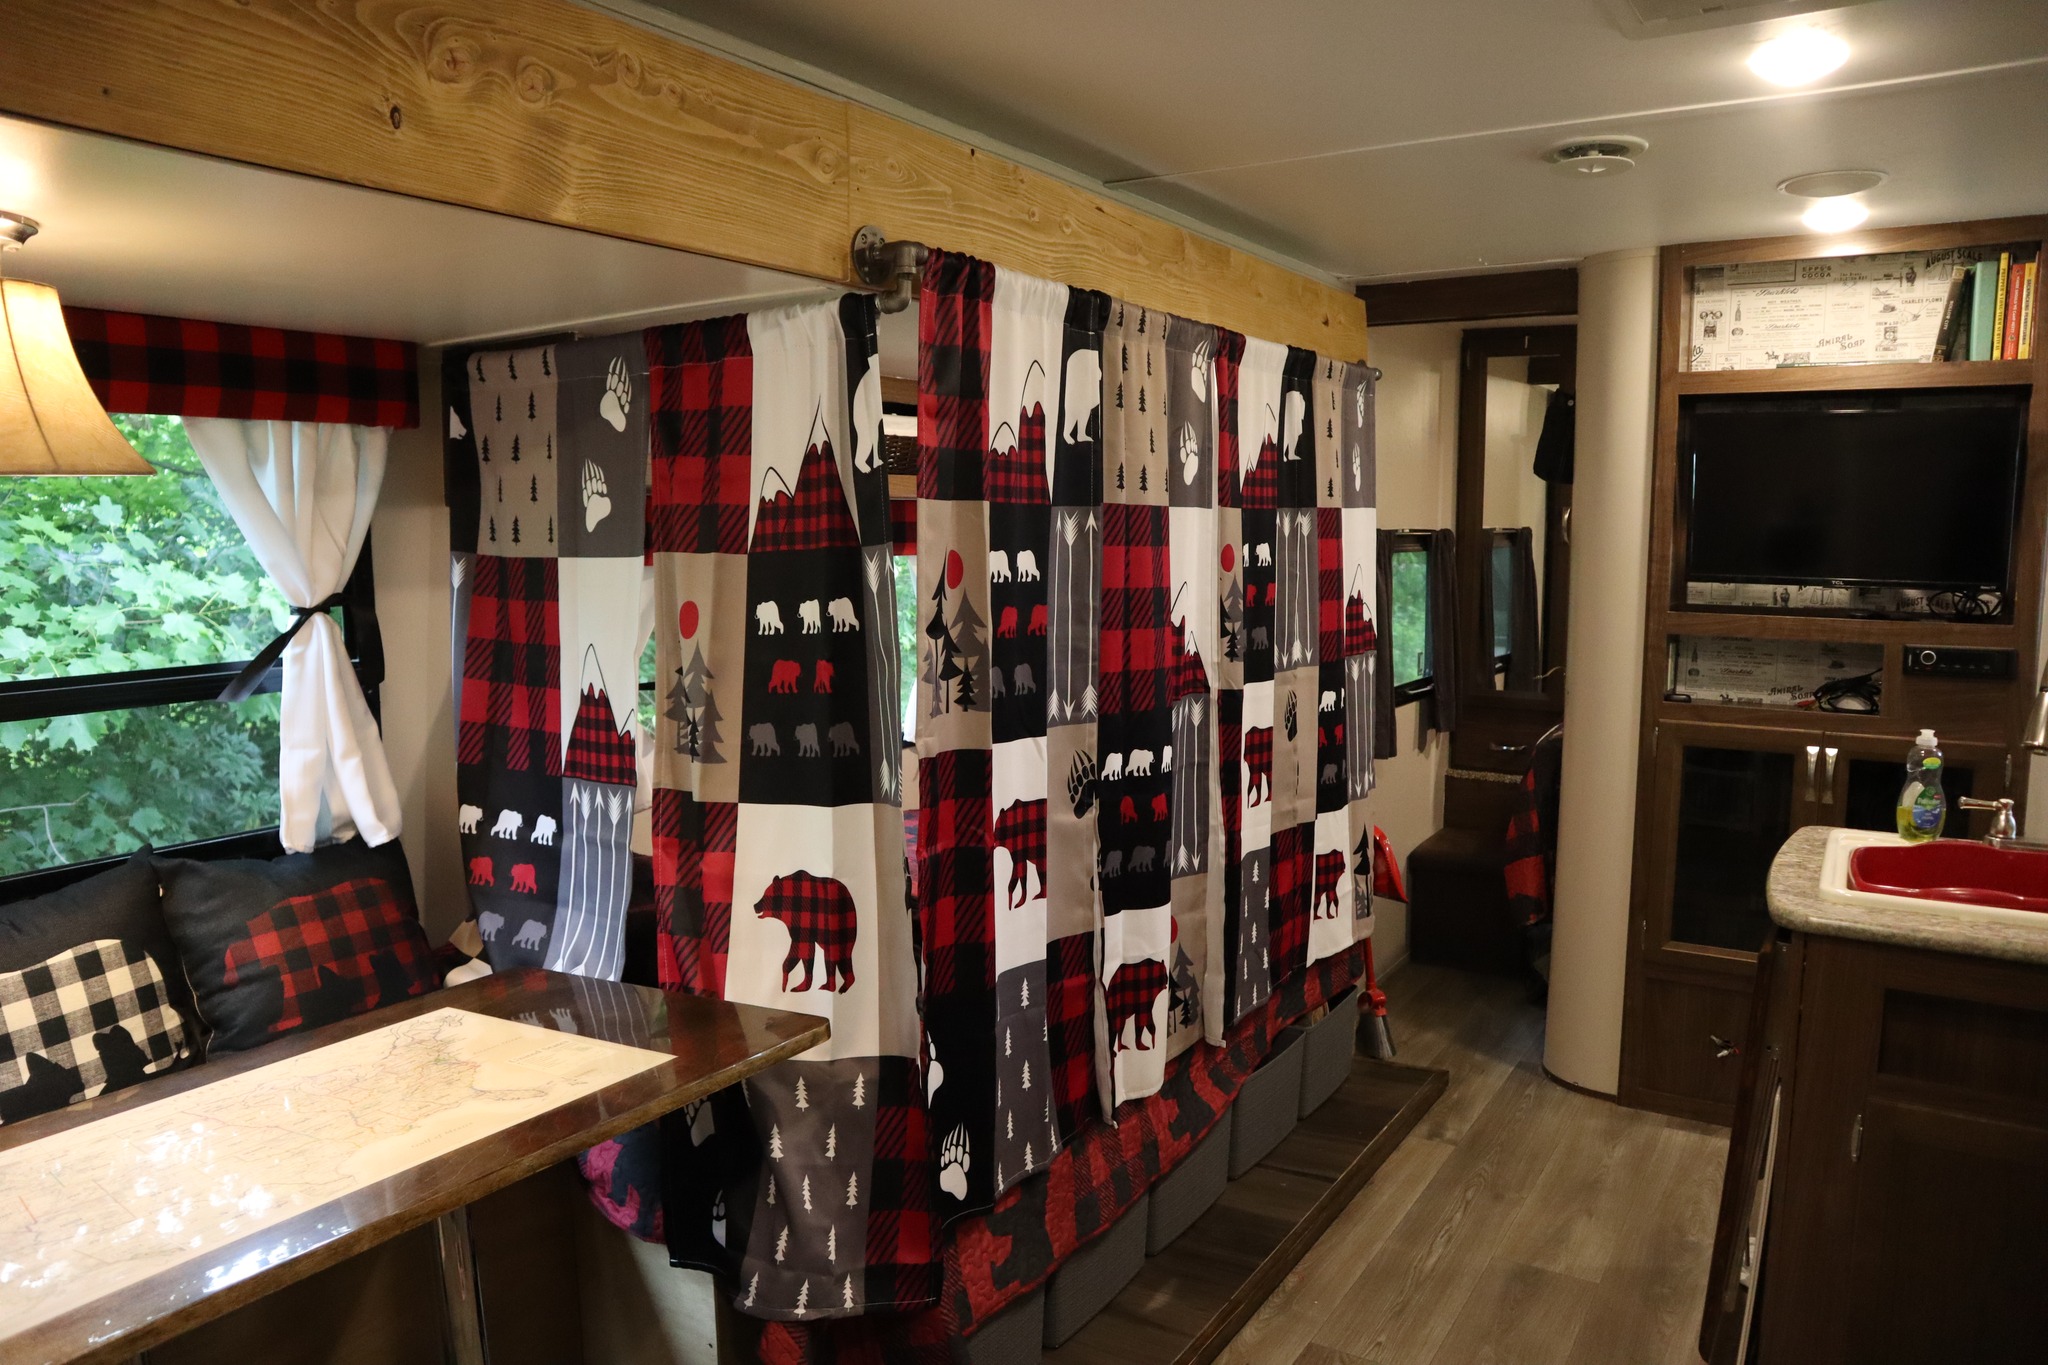
To solve this problem, Jim removed the couch entirely and replaced it with a twin-sized storage platform. We purchased a mattress and bedding from Amazon, and Jim hung metal conduit piping with cast iron fittings as curtain rods. I found adorable buffalo check curtains with bears in the nursery section of Amazon that were the perfect length to hang around a 9-year-old’s bed to give her some privacy in her own space. The storage shelves above what had been the couch became her clothes closet. Under the bed is storage we can use for small or large objects.
PAINTING THE WALLS
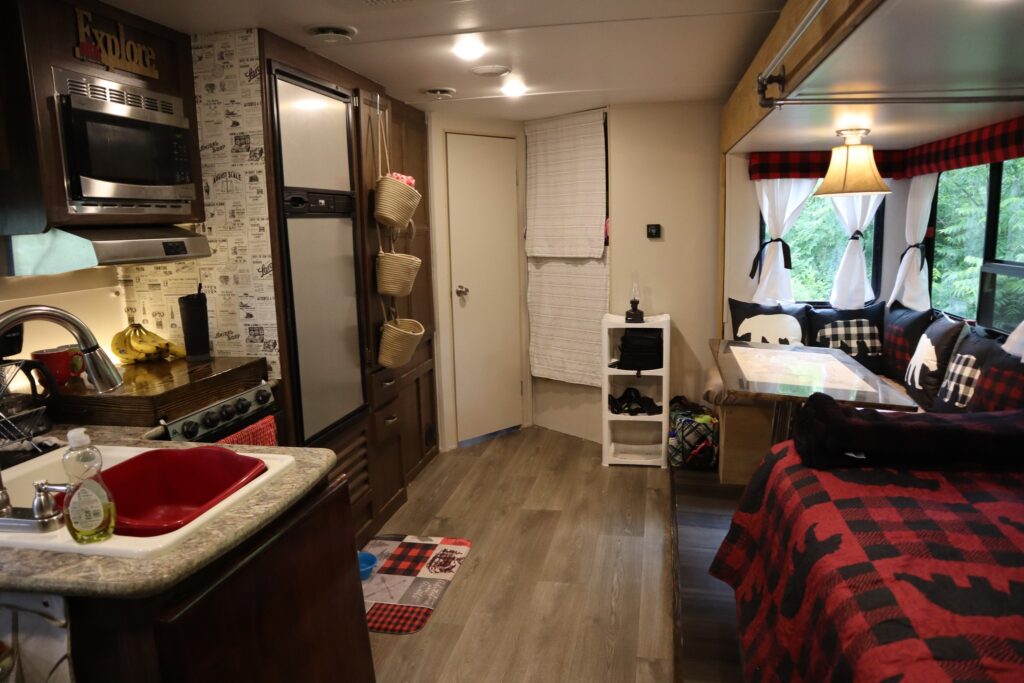
Travel trailers come with the WORST wallpaper, and ours was no exception. I knew I wanted to paint it a lighter color. I used regular in-home primer and wall paint from Behr and painted the walls a light cream to match the wood tones we would be using. I considered painting the cupboards, but that can be a massive undertaking from which people often get mixed results. The dark wood fit my cabin theme, so I decided against painting it.
WALLPAPER ACCENTS
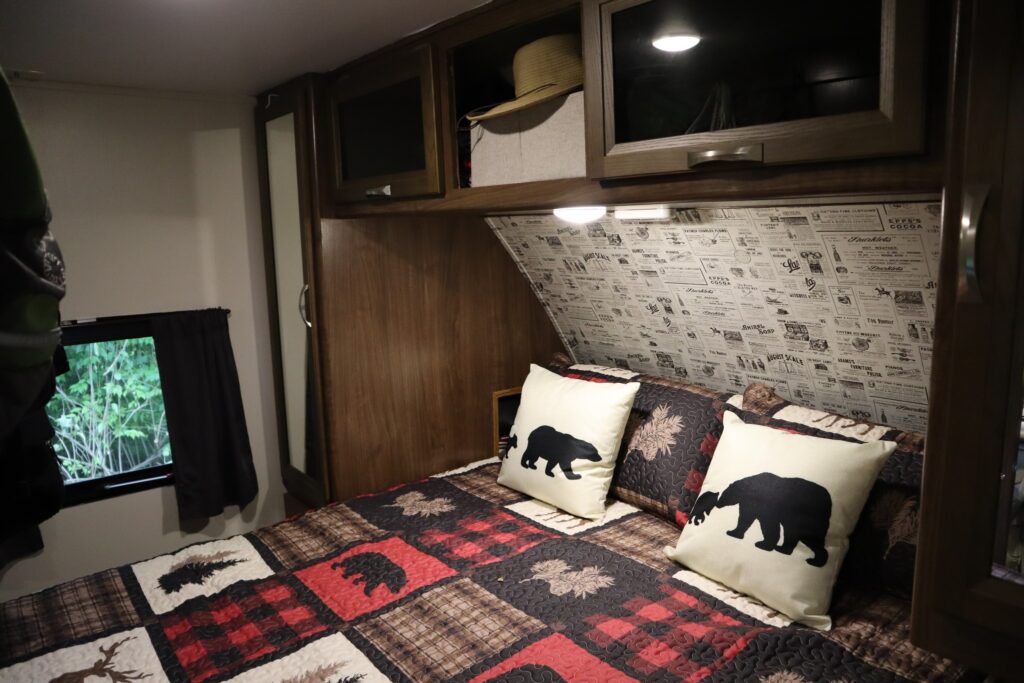
I used a stick-on wallpaper with an old newspaper print in a few places. Even though the wallpaper was self-sticking, because of the wide range of temperatures in the metal box that is a travel trailer, I also used spray adhesive to hold it on. It was so easy to put on and looked so good that I had to stop myself from overdoing it and putting it everywhere.
A NEW DINETTE AND TABLE
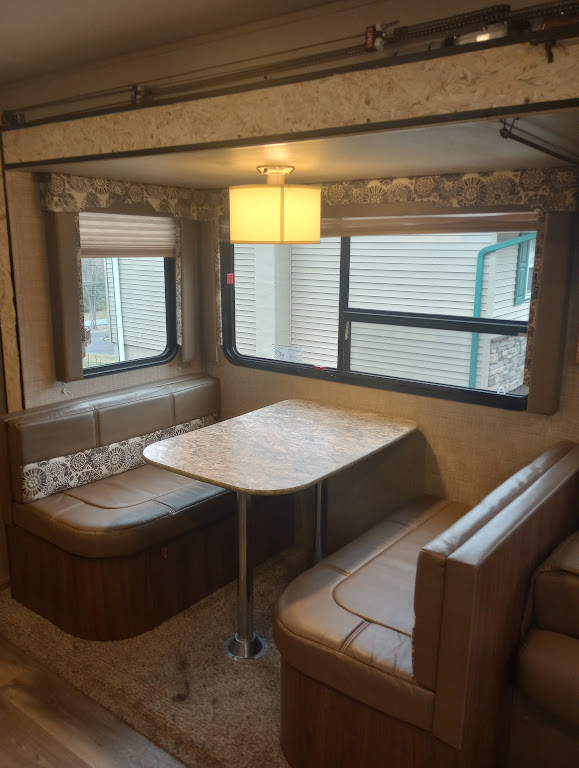
After removing the couch, Jim also took also took out our dinette. We replaced the two existing benches with ones he custom-made into an L-shape. He created a U-shaped dinette that easily fits our family of 5 by connecting them to the bed. I used the foam from the original cushions to develop new ones that I covered with a leather-like vinyl material.
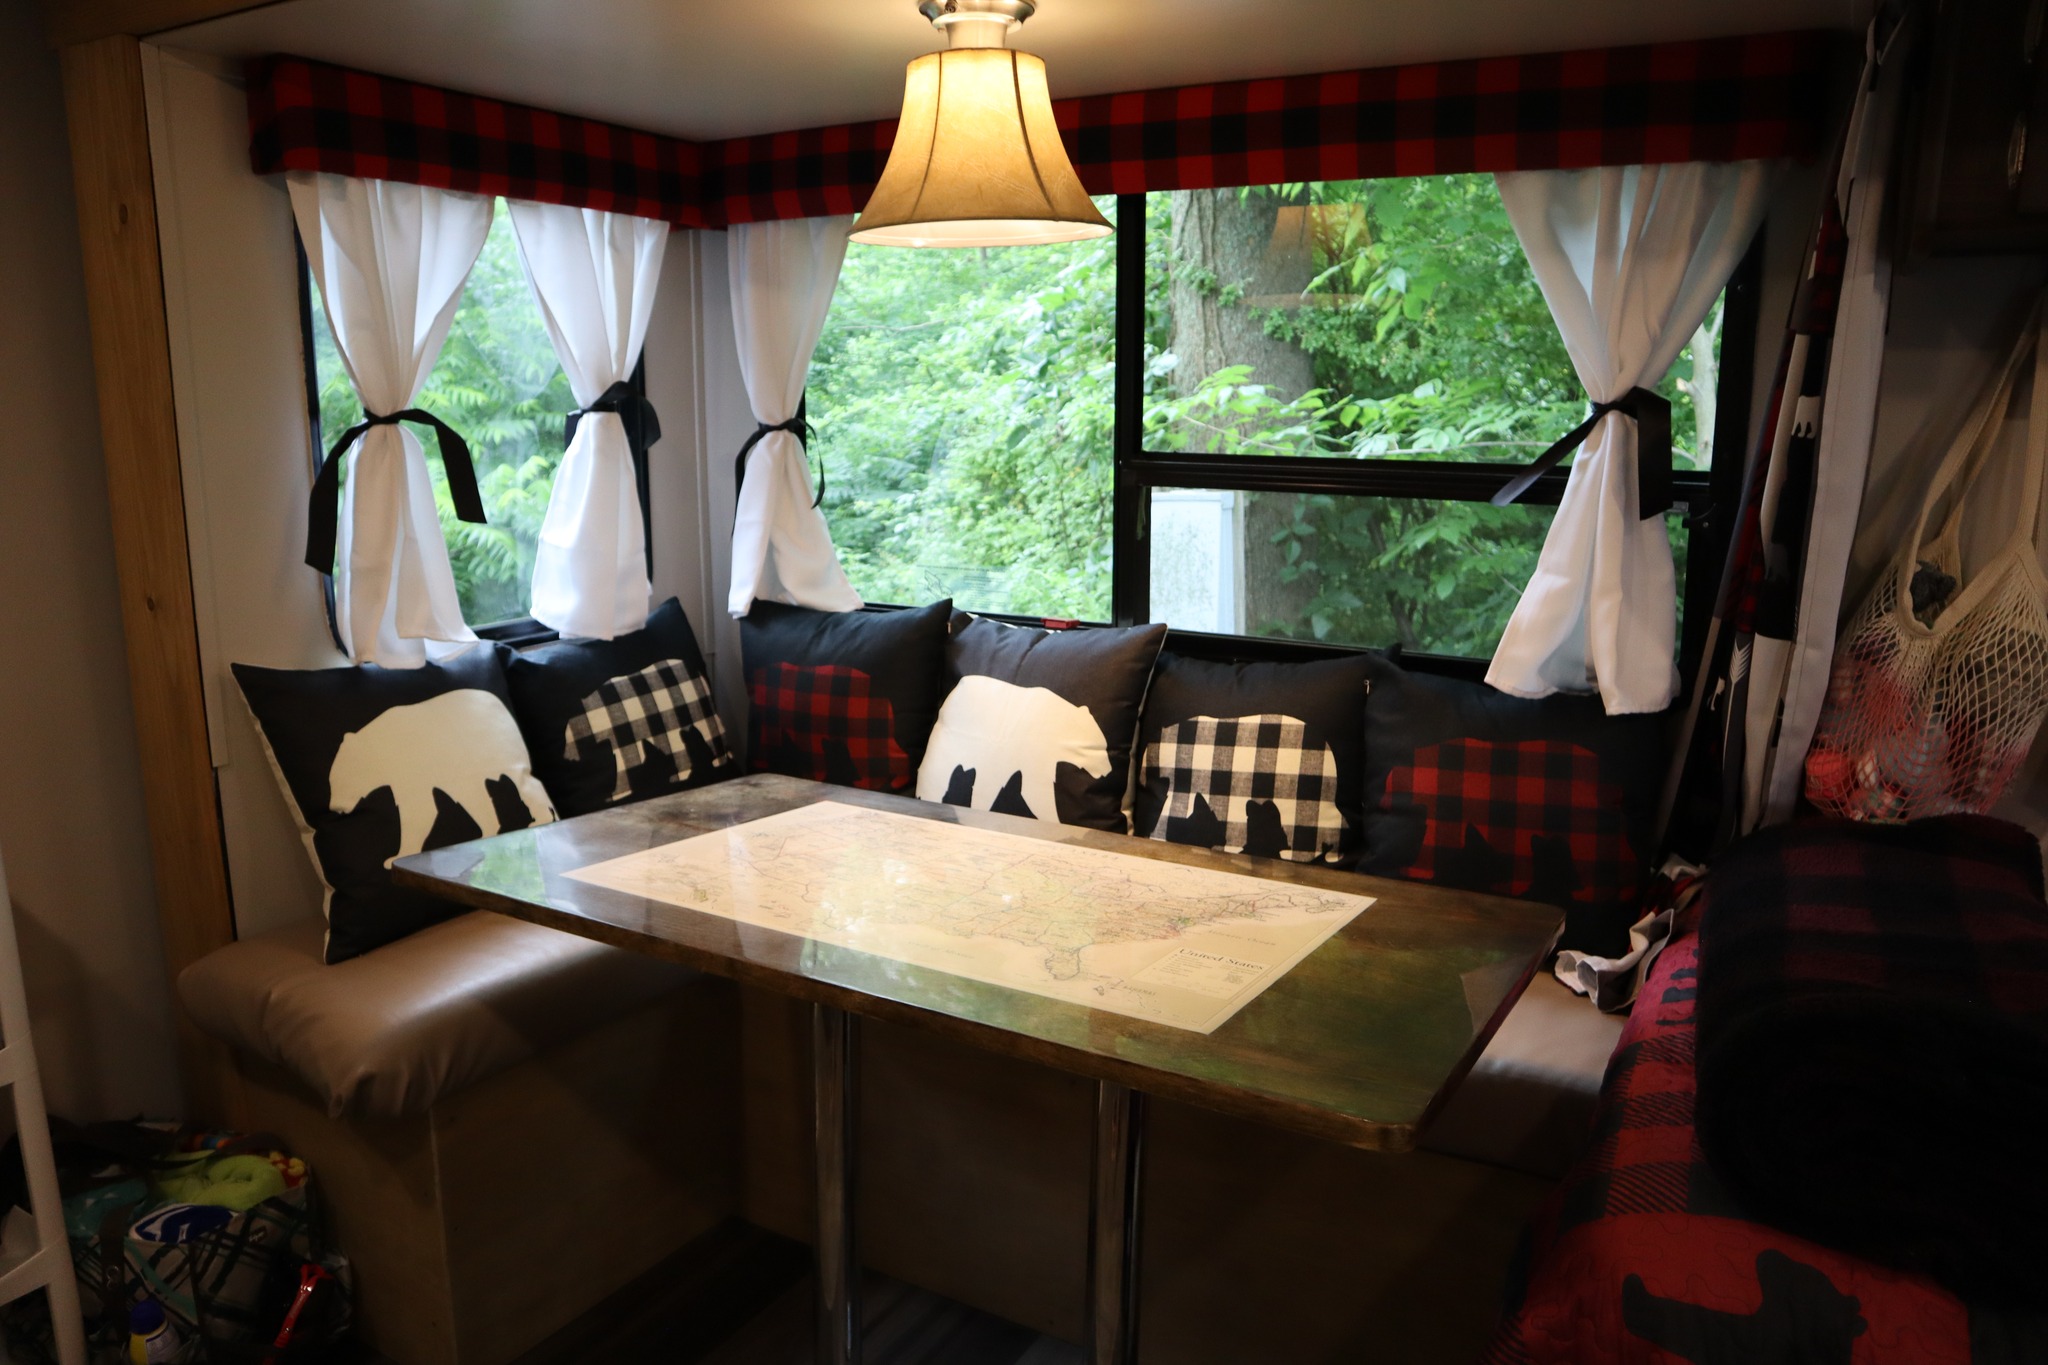
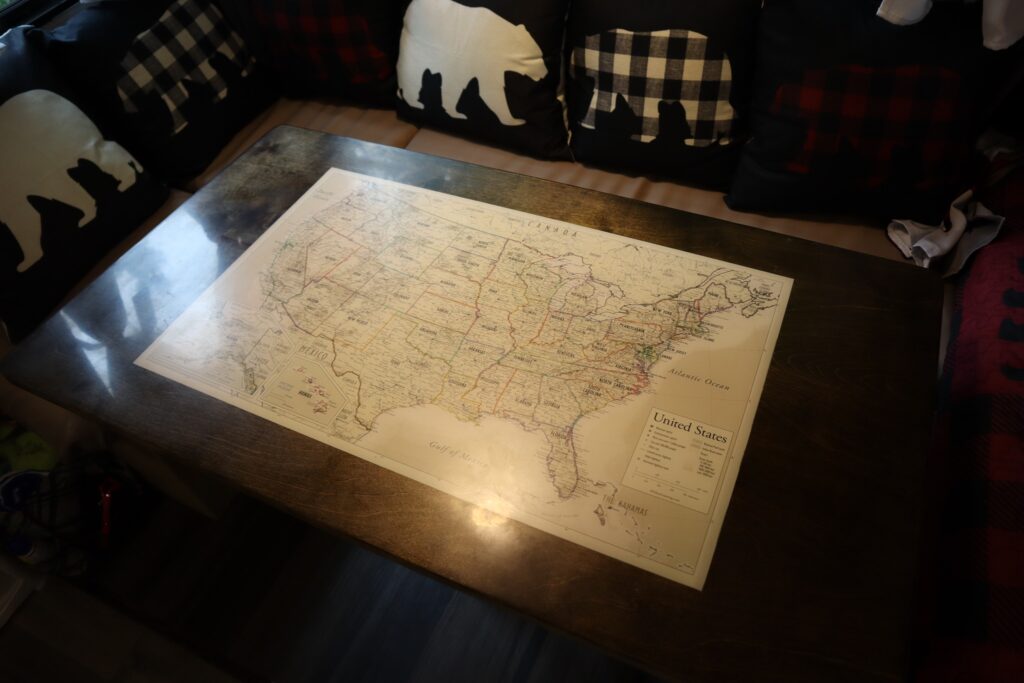
The crown jewel of the remodel is the new dining table he made using stain, epoxy, and a National Park map I found online. It’s gorgeous and is the one thing we will keep long after selling the camper.
WINDOW DRESSING
Our camper had come with dated valances with legs and shades that failed to keep out light. We didn’t want to remove the valances because they help manage indoor temperatures but needed a facelift. Jim pulled them, and I covered them with buffalo-checked fabric using batten and a staple gun. I purchased white curtains to help keep the space bright and hung them inside the valances using tension rods. For the final touch, I swapped out our boring lampshade for one that looks more like animal hide (but isn’t, lol).

LITTLE TOUCHES
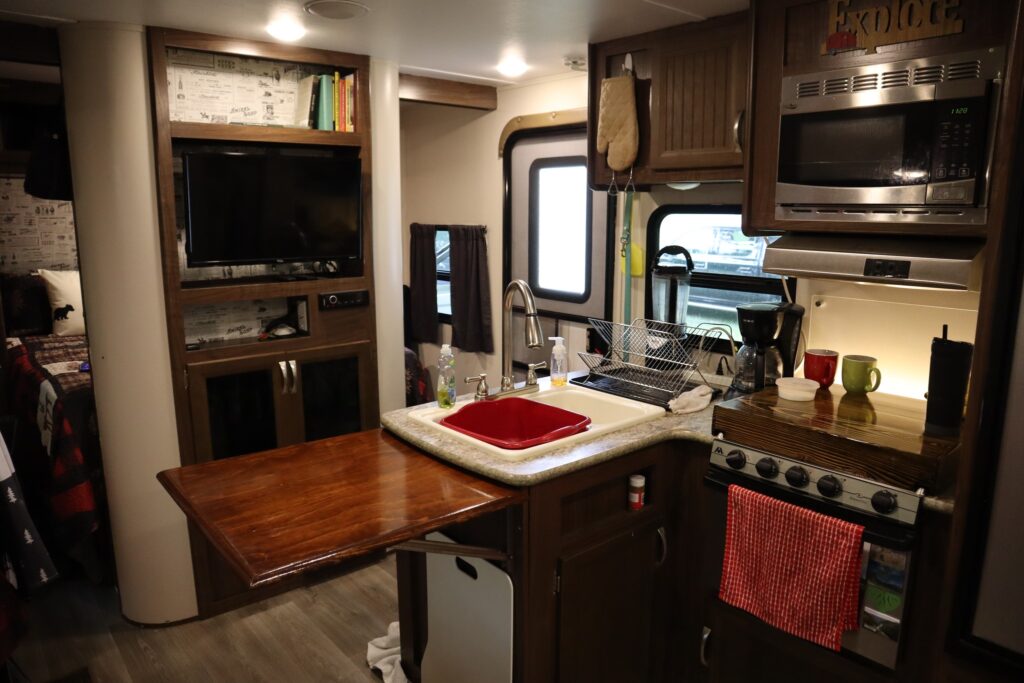
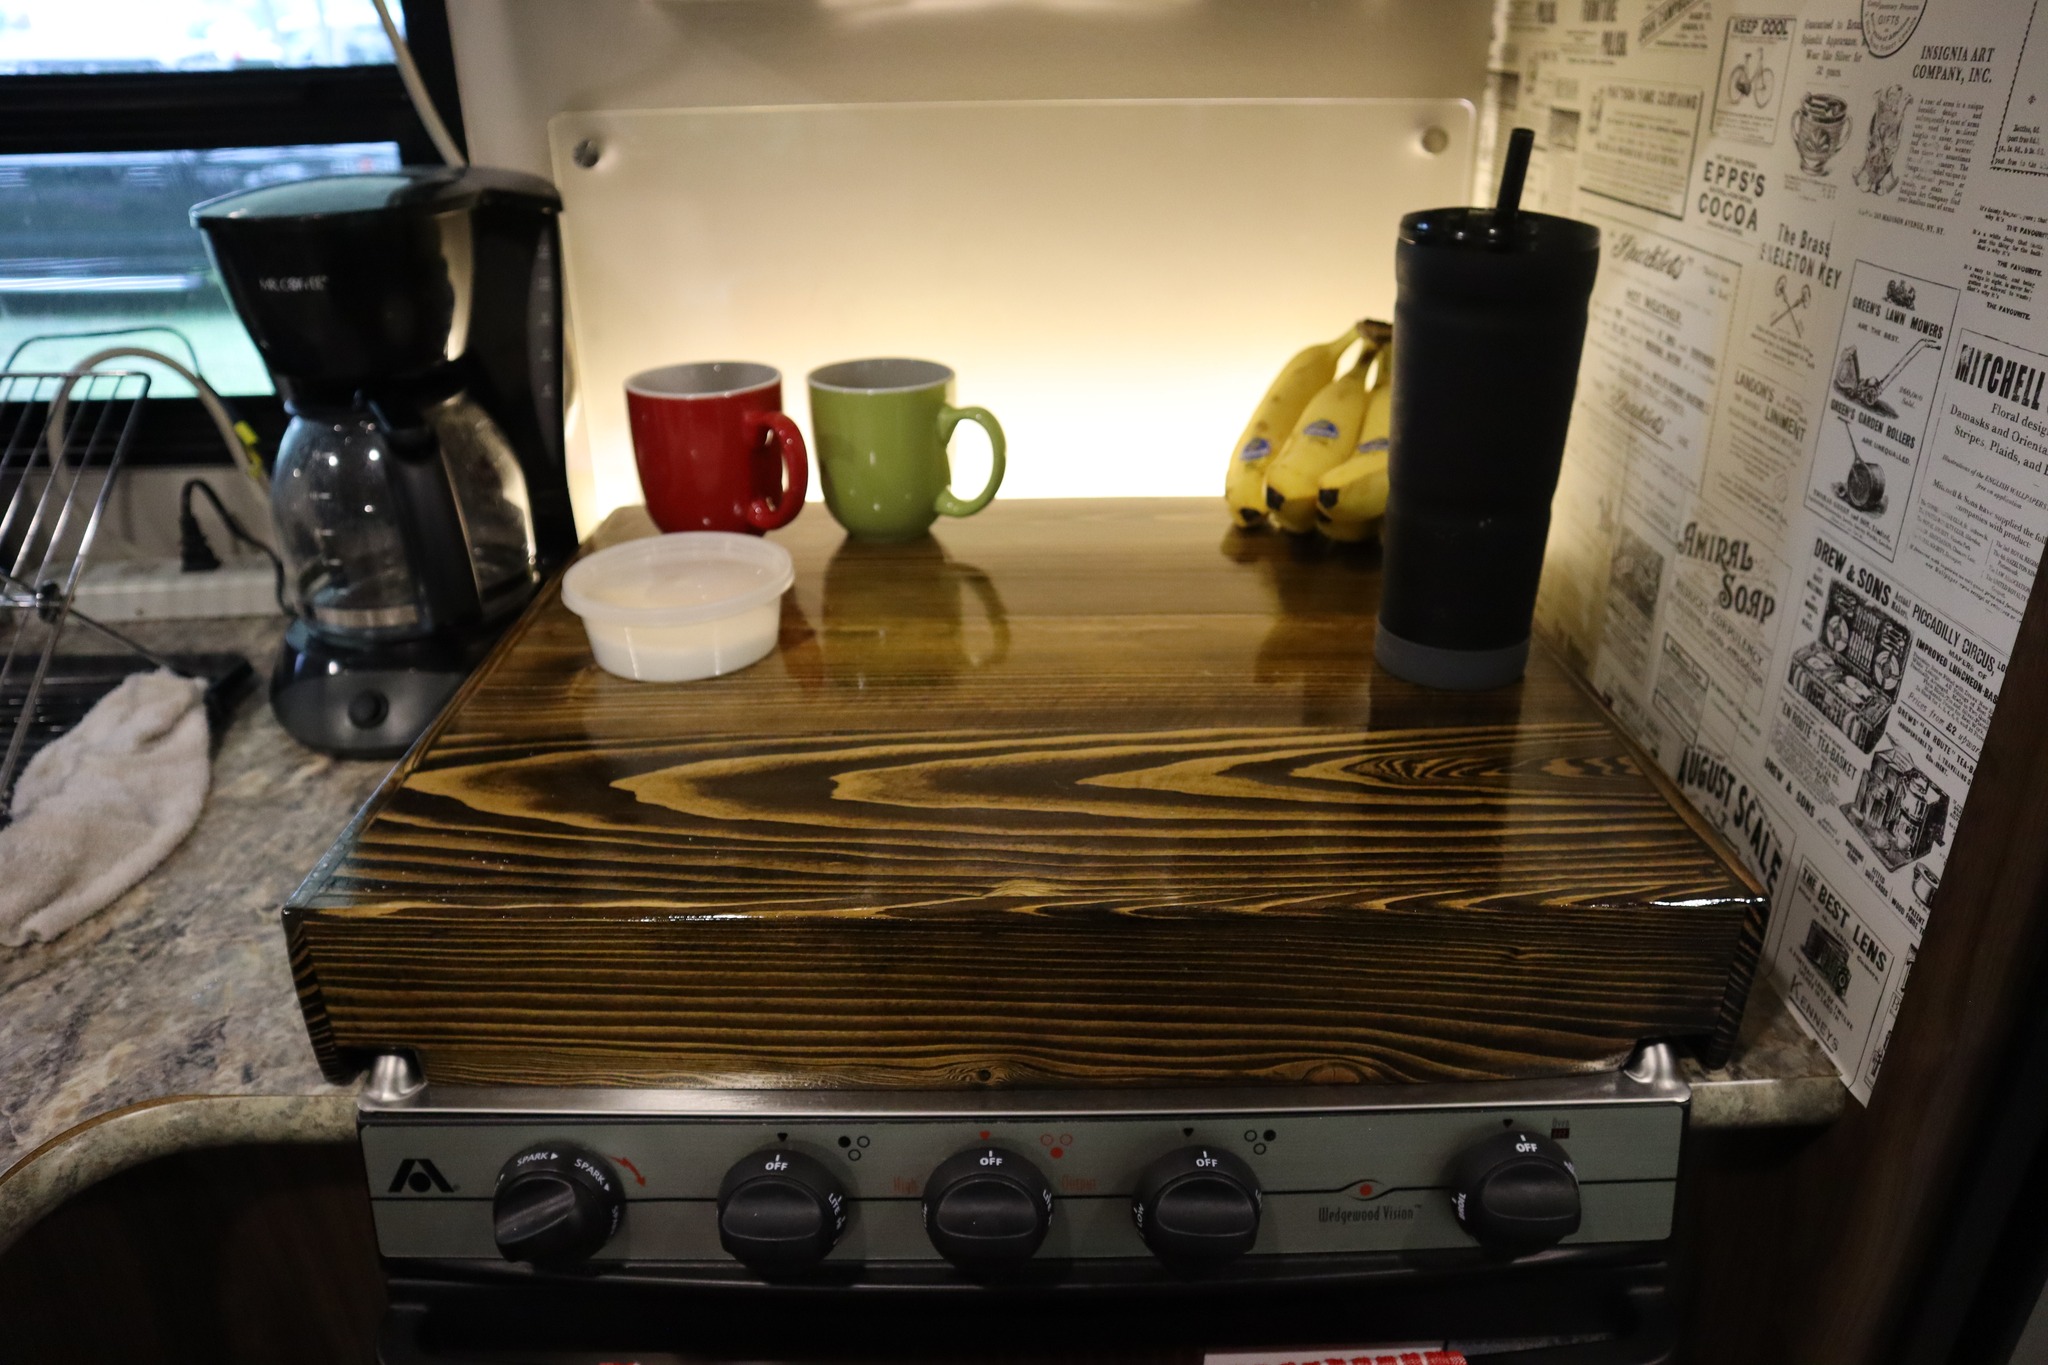
Jim built me a stove cover for more counter space to match the hinged countertop he had added years ago.
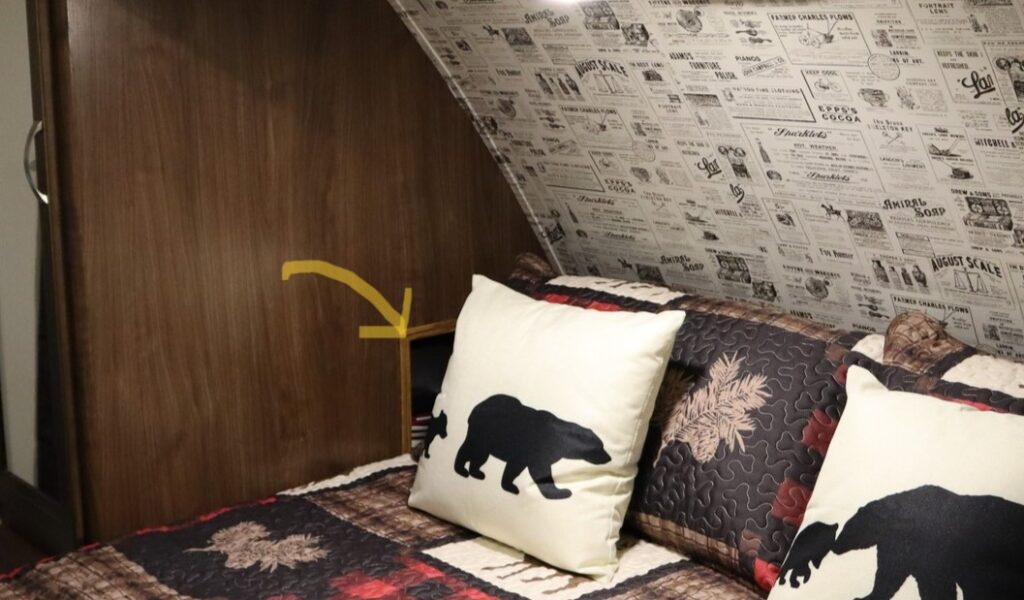
Next to the master bed, we only had a nightstand on one side. Jim Created a nook next to my pillow for me to store things like my glasses, tissues, and phone at night.
We still have a few more modifications we would like to make before leaving on our big trip, but our camper is much more suited to our needs and is ready for our next big adventure!
BEFORE
AFTER
BEFORE
AFTER
This post includes affiliate links.
I love the remodel! You and Jim did a great job.